
Last updated November 22, 2026
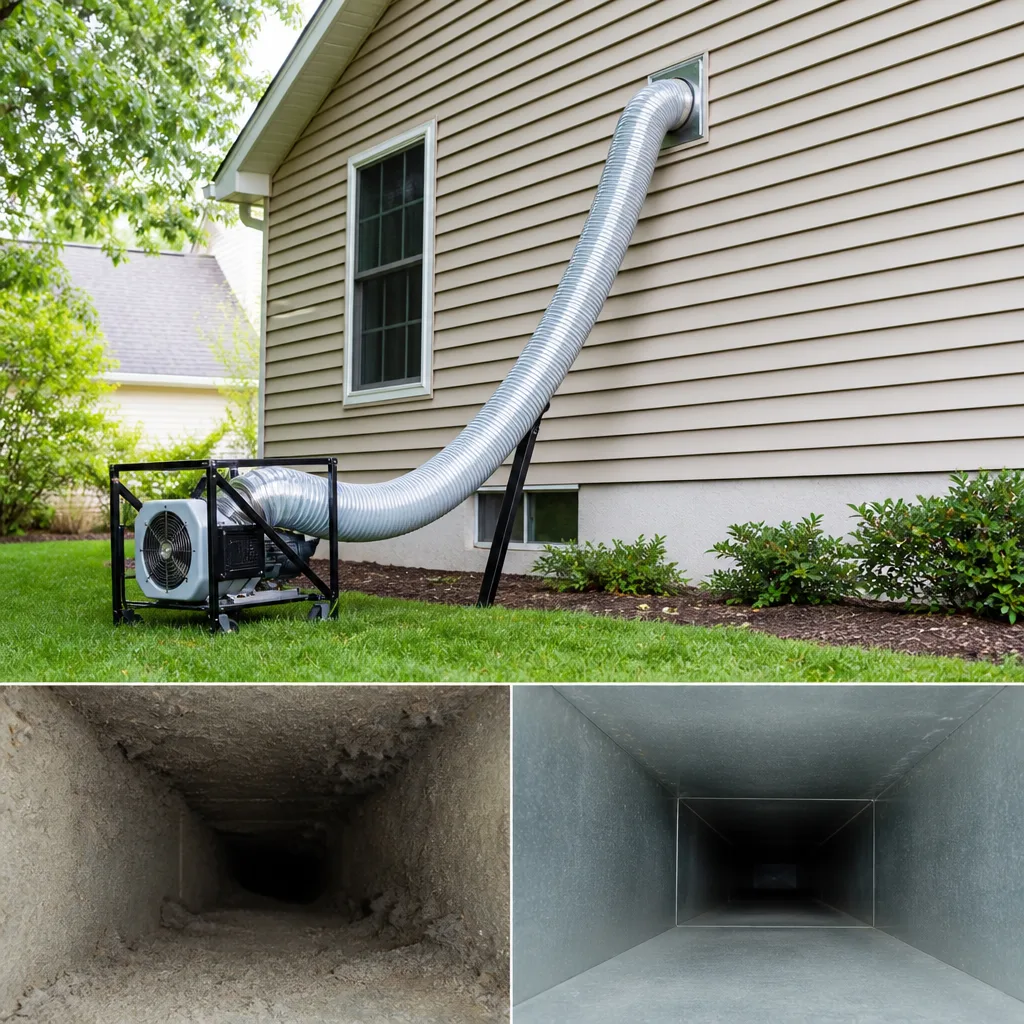 Whole-home duct cleaning
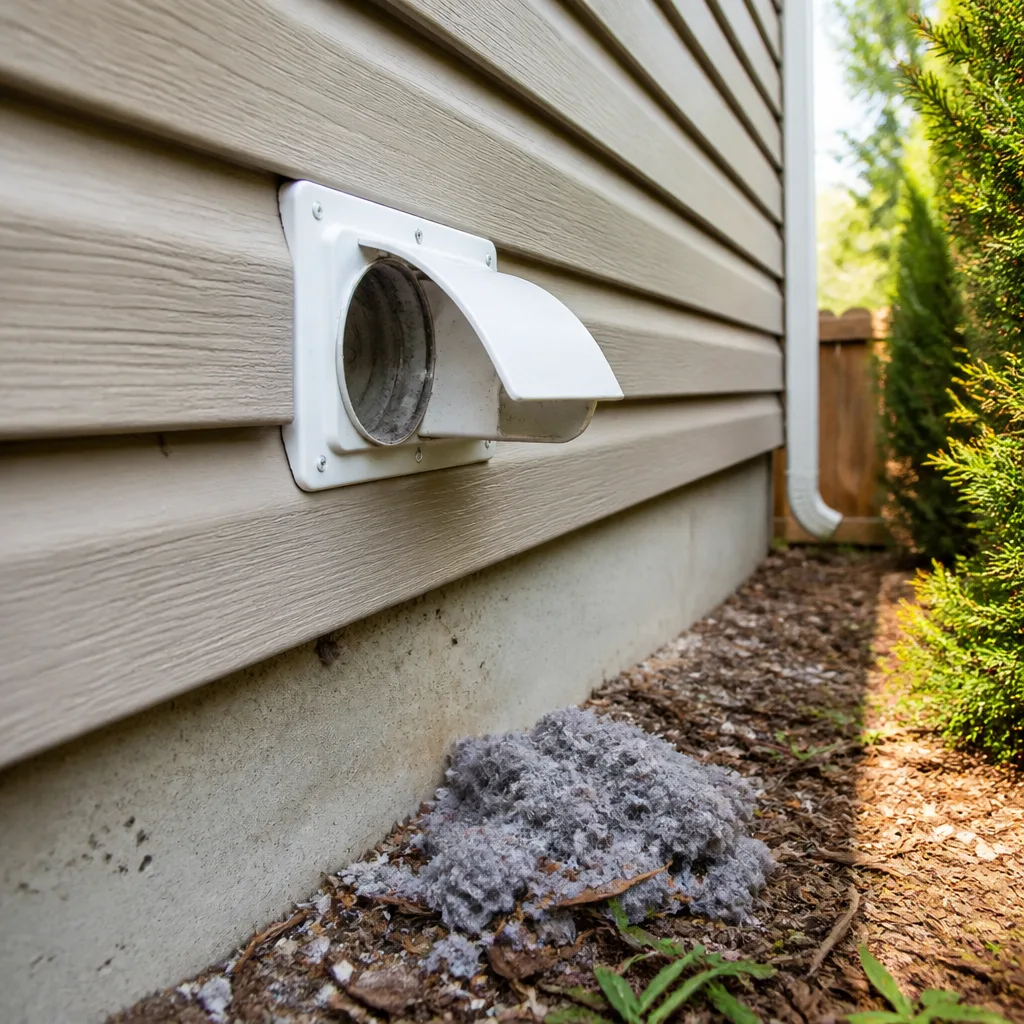 Dryer vent cleaning
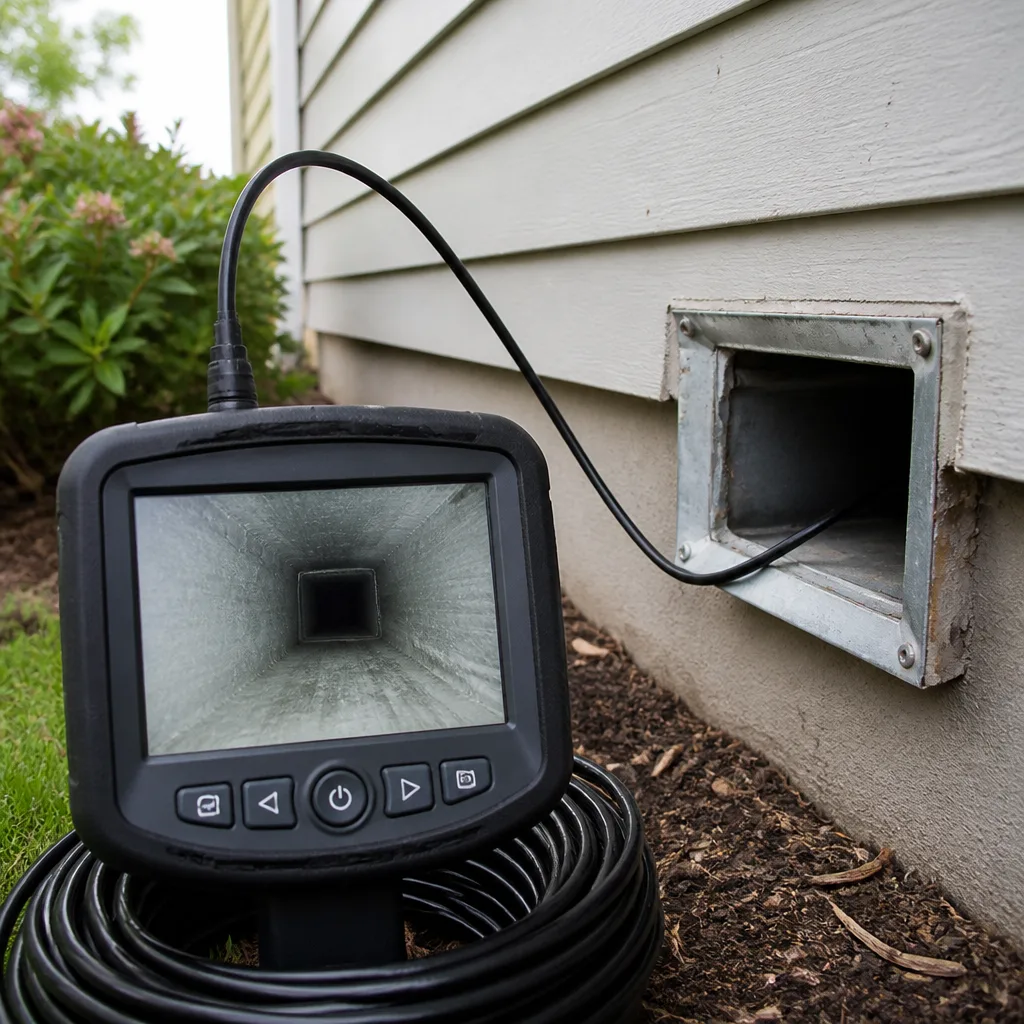 Camera inspection
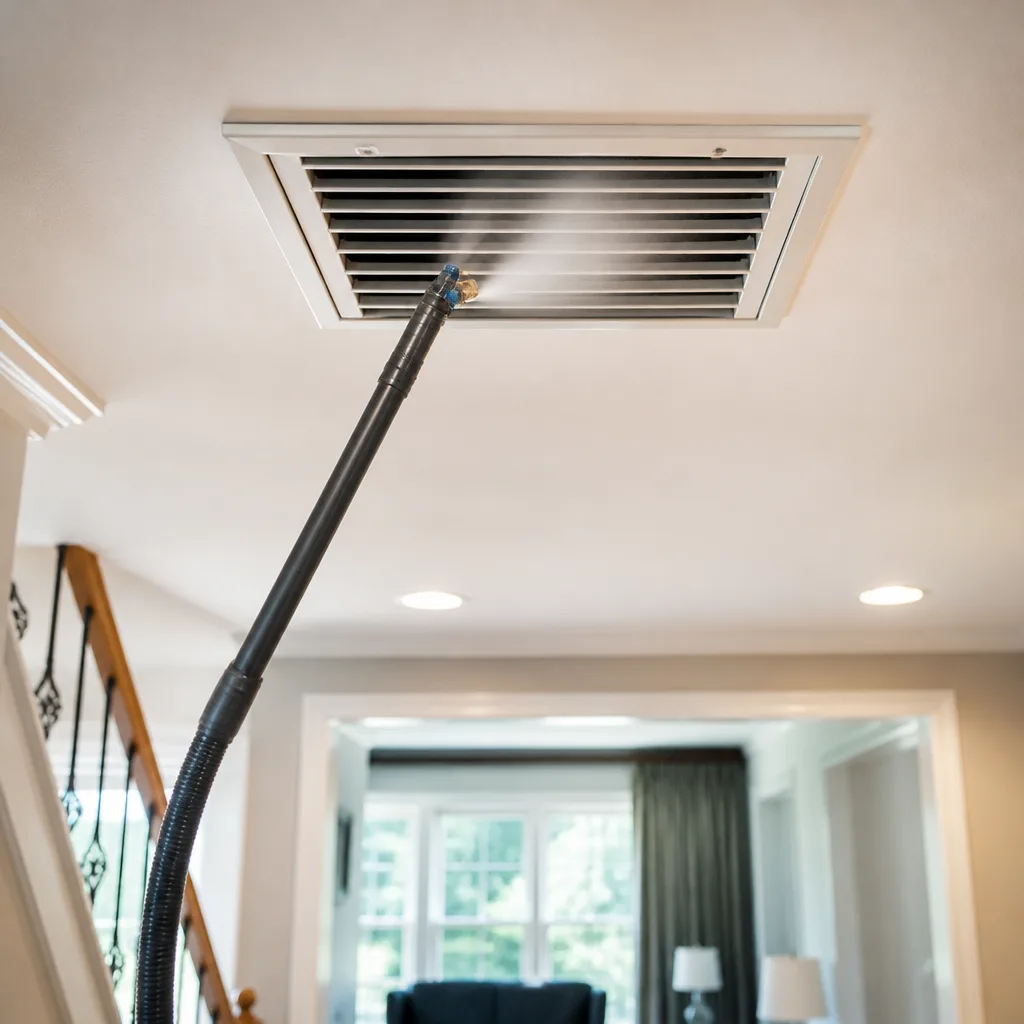 Sanitizing & deodorizing
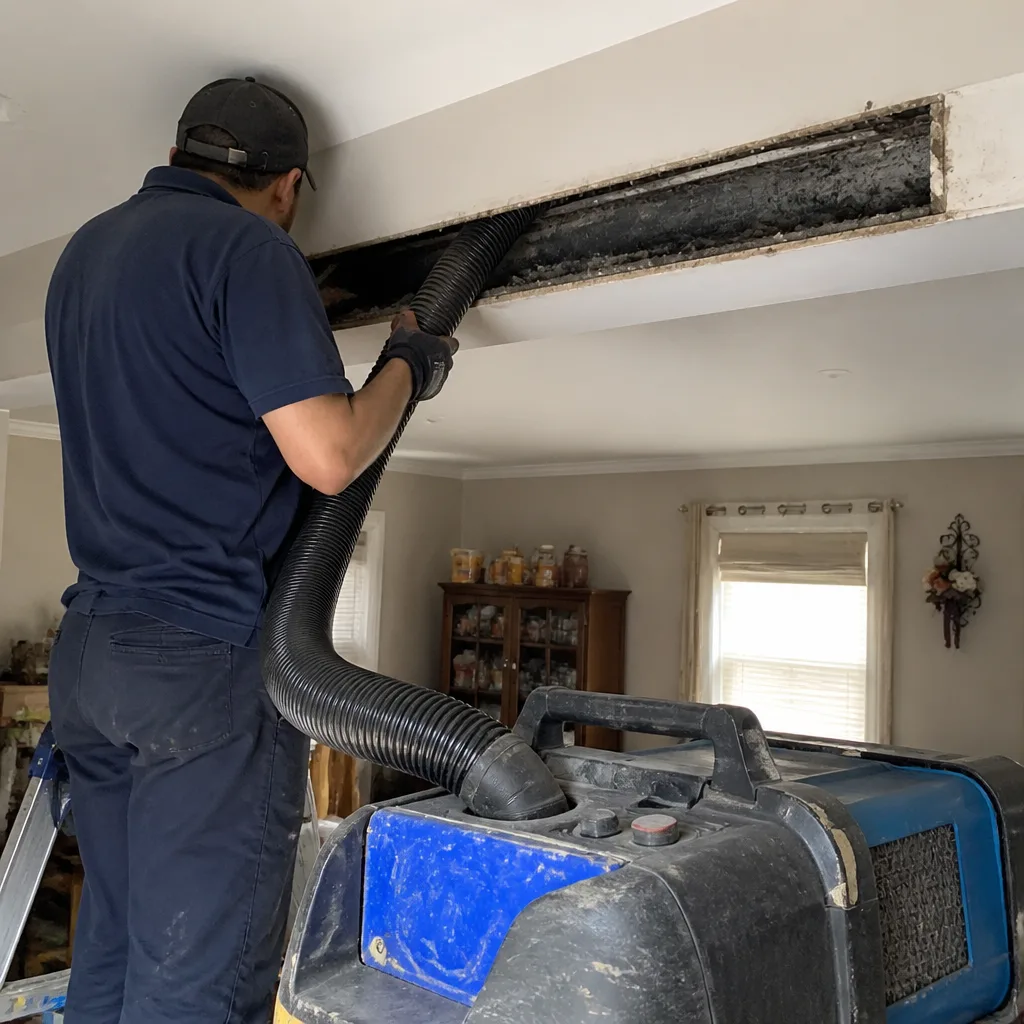
Whole-system duct and dryer vent check with before-and-after photos - you see exactly what came out of your vents
That "$99 whole-house special" is a bait ad - the real number appears once they are in your hallway, or the "clean" is a shop-vac at the register. We photograph the inside of your ducts before and after instead.
Duct Repair & Sealing Maintenance Checklist for Frankford Homeowners
Most homeowners treat duct sealing like a repair: something you do once, when a room stops heating properly. The opposite is true. Sealing is maintenance, and it works best when it’s tracked on a schedule the way you’d track a furnace filter or a smoke detector battery. An unsealed duct system can lose a fifth to nearly a third of the air you paid to condition before it ever reaches a room, and in a Frankford row home with a basement air handler the loss runs higher because the pressure difference between basement and second floor works against a leaky trunk. This guide gives you a repeatable, zone-by-zone checklist you can run every few years, plus the notes you need to hand a technician so each visit starts from where the last one ended instead of from scratch.
Quick Answer
A duct repair and sealing checklist for a Frankford home covers five inspection zones in order: the basement air handler and trunk, the floor-joist cavities, the wall chases, the attic runs, and the register boots at each room. At each zone you check for three things: loose joints, split or improperly spliced flex duct, and disconnected returns. Log what you find, photograph it, and seal it with mastic, metal tape, or a professional injection system depending on the location and size of the leak.
Styles & brands we work with
- Whole-home duct cleaning
- Dryer vent cleaning
- Camera inspection
- Sanitizing & deodorizing
Table of Contents
- Why duct sealing pays for itself in Frankford housing
- The five-zone walkthrough every Frankford homeowner should know
- How to find leaks without special equipment
- Mastic, metal tape, or injection: choosing the right sealant
- Red flags in Frankford’s older housing stock
- Documenting findings so a contractor can compare over time
- A maintenance schedule you can actually keep
- When to stop checking and call a professional
Why duct sealing pays for itself in Frankford housing
Frankford sits in the older section of Northeast Philadelphia, and much of its housing was built between roughly 1900 and 1970. Row homes here were built tight on purpose: shared party walls, small footprints, and heating systems sized for a specific amount of air moving through the house. When ducts leak, the system fights against itself. The furnace or air handler pushes air into a leaking trunk, the basement pressure changes, and rooms at the top of the house get less than their share. That is why a second-floor bedroom can feel cool in January while the first floor overheats.
The energy loss that follows is real and measurable. A homeowner who reseals a leaky trunk and return plenum in an older Frankford home typically notices warmer bedrooms and less furnace run time in the same heating season, before any other improvement.
We’ve seen, in our work around Northeast Philadelphia, that the biggest losses hide in three places most homeowners never open: the attic flex runs behind knee walls, the return plenum behind a finished basement ceiling, and the boot where a register meets the floor. None of those spots are hard to reach, but all three are easy to forget if you don’t have a checklist that sends you there on purpose.
Sealing is also cheaper than repair. Mastic and mesh on a joint that’s starting to separate costs almost nothing compared with replacing a run of ductwork after the joint fails and the flex liner collapses. That’s the reason this guide is a checklist and not a once-and-done article: the point is to catch the failure at the joint, not the collapse.
The five-zone walkthrough every Frankford homeowner should know
The walkthrough runs in a fixed order, because the air handler pushes from the basement upward and you want your pressure observations to follow the same path. Do it once as a full sweep, then repeat at the interval described in the schedule section.
Zone 1: Basement air handler and trunk
Start at the unit. Check the plenum connection where the trunk leaves the air handler cabinet. Look for separated seams, tape that’s curling away, and any place where a previous owner added a run by cutting into the trunk with a utility knife and patching around it. On older Frankford homes the trunk is often wrapped sheet metal, sometimes with original insulation that’s gone brittle. Inspect the trunk from end to end at eye level, then get on the floor and look along its underside, where condensation gathers.
Zone 2: Floor-joist cavities
Some row homes use the joist cavity between floors as a return air path, sometimes with a metal pan or panel closing off the ends. Check that the pan is attached along its full length. Any gap at the pan seam pulls dirty basement air into the return, and no amount of cleaning the branches will fix that. This is the zone where Frankford’s older homes fail most often.
Zone 3: Wall chases
Vertical runs often travel up a chase inside a wall, sometimes hand-built from sheet metal on older homes. You can’t fully inspect a chase, but you can check the plate penetrations where the run enters and exits the wall at each floor. Feel for air movement at the penetration. A chase that leaks at the top floor plate pulls attic air into the system.
Zone 4: Attic runs
If any ductwork travels through the attic, check the insulation jacket on every flexible run. A sleeve that’s torn or detached from the duct itself loses heat in winter and gains it in summer, which is the single greatest source of trouble in attics that see both extremes. Look at each bend. Tight bends in flex duct reduce flow and are a place where joints work loose.
Zone 5: Register boots
Lift each register and check where the boot meets the floor or wall finish. On older Frankford homes you’ll sometimes find a gap of an eighth to a quarter inch around the boot, entirely unclosed. That gap pulls air from inside the wall cavity into the room on every cycle. The boot-to-floor joint should be sealed and, on a floor register, the boot should sit flush without moving when you press on it.
How to find leaks without special equipment
You don’t need a duct blaster to find most of the leaks in a Frankford home. You need three methods used in sequence, and they get progressively better at finding the small ones.
Visual inspection
Turn the system off first, then look. The visual pass is looking for obvious breaks: tape that’s peeled, seams that have opened, a flex sleeve that’s torn, a boot that’s pulled away from its floor opening. Visual inspection catches perhaps half of the trouble. It is the fastest pass and should be done every time before you touch the system.
Tactile inspection
Turn the system back on. With a cool room and the fan running, run the back of your hand slowly along each seam, joint, and boot edge. Air movement across your hand means a leak. This works better than your fingers because the skin on the back of your hand is more sensitive to a moving current. Frankford homes with high ceilings and long runs often have leaks you can only feel, not see.
Containment smoke check
For a stubborn leak you can’t locate, a small puff of theatrical smoke (the kind sold for stage and HVAC use) held near the suspected joint will tell you whether the joint is pulling air. Hold the source steady and watch the direction of drift. This is a diagnostic, not a repair, and it does not need any special rig. We use the same approach with our air duct cleaning visits when we find a leak in a return that the homeowner didn’t know existed.
A pressure gauge or a duct blaster gets you the most precise reading, but it’s a professional tool. If you want a quantified number to compare year to year, that is exactly when to have the system tested by a technician with an Abatement Technologies negative-air setup or a calibrated flow gauge.
Mastic, metal tape, or injection: choosing the right sealant
The right sealant depends on the location, the size of the leak, and whether you can reach it. Here is how the three main options break down, in plain terms.
- Mastic sealant with mesh. The workhorse for basement trunks, plenums, and joint seams. Brushed on over the seam with a mesh tape laid in, it cures flexible and lasts. Best for joints you can reach with a brush. Time cost: a few minutes per joint.
- Metal foil tape (UL-listed), not duct tape. The right choice for a boot-to-floor joint and for sealing a pan edge on a joist cavity. We want the foil-backed adhesive tape made for ductwork, not the cloth “duct tape” everyone has in a junk drawer. Cloth tape dries, peels, and comes loose within a couple of seasons. Time cost: seconds per joint.
- Injection sealing (an aerosol-based system). The choice when the leaks are inside a wall chase, behind a finished ceiling, or in an attic run you cannot reach. A technician seals the system, injects a fine sealant mist from inside, and the mist collects at the leaks. Time cost: a full morning or afternoon of a technician’s schedule, priced as a whole-service job.
For most Frankford homeowners doing their own maintenance, mastic and foil tape handle every reachable leak, and injection is something to price out with a contractor. A simple rule: if you can put your arm on the joint, seal it yourself with mastic or foil tape. If you cannot reach it, plan the call.
Order matters here. Clean the surface before you seal anything. Mastic won’t stick to dust, and foil tape won’t hold on a greasy or grit-covered boot. That’s why a proper duct repair & sealing visit always starts with a cleaning pass on the joint, then seals, then verifies.
Red flags in Frankford’s older housing stock
Frankford’s housing stock has three failure patterns we see over and over. If your home was built between the 1950s and the 1970s, assume one of these is present until you’ve checked.
- Improper flex duct splices. A previous owner or a DIY weekend project often spliced a flexible run by pushing the inner liner over the next and taping the outer jacket only. That leaves the inner liner loose and the joint leaks every time the fan runs. Look for a splice that has tape on the sleeve but no mechanical connection inside.
- Disconnected return plenums. The return duct that feeds the air handler often connects to a pan or chase that has come loose at one end. When the return plenum pops off, the system pulls air from the basement, which is the dirtiest air in the house. Look for a return boot that isn’t attached to the top of the air handler.
- Original ductwork still in service. Some Frankford homes still have the original 1950s-70s ductwork, sometimes with seam tape from that era that has long since failed. The duct itself may be sound, but every seam needs attention. Look for tape that has turned brittle, curled, or separated entirely from the metal.
One more Frankford-specific flag: older row homes often had the basement ceiling finished over the original ductwork during a 1980s or 1990s renovation. The runs above that ceiling are still there, still leaking, and no longer accessible from below. When we find that situation we check from the rooms above and use a scope from the register boot to see what’s happening up there.
The relevant health and comfort concern here is: any leak on the return side of the system draws air from a cavity and delivers it into the living space. That’s why a duct system with a disconnected return plenum should be sealed before it’s cleaned a second time. Sealing a leaky return helps far more than another pass of the vacuum.
Documenting findings so a contractor can compare over time
The single most useful thing you can do for the next technician who visits is leave a record. Every future visit starts from a baseline if you keep one, and starts from zero if you don’t.
Here is the record to build over the years, and it’s genuinely simple:
- Photograph every leak before you seal it. Date-stamp or name the file with the room and location. “Basement trunk – east joint – 2026” tells a technician everything at a glance.
- Note the method used to seal each one. Mastic, foil tape, or injection. A technician comparing condition can tell whether a sealed joint is holding or when the seal was applied.
- Note the pressure or leak observation for each zone. A line like “Zone 2 pan – small gap at seam – strong pull” tells the next person how bad it was and whether it changed.
- Keep a one-page summary per zone. Zone 1 through Zone 5, one short paragraph each. It takes ten minutes to write and saves an hour of diagnostic work on the next visit.
We’ve seen the value of this first-hand: when we arrive and the homeowner has photos from a visit three years ago, we can compare the same joints and skip straight to the ones that have moved. When we arrive without any prior record, we do a full walkthrough from the basement up. Both are useful, but the documented home gets more done in the same visit. A quick dryer vent cleaning visit is a good time to check the ductwork while the technician is already in the house, since both are about air moving through sealed paths.
A maintenance schedule you can actually keep
The point of the schedule is not perfection. It’s that the check happens on a rhythm rather than only when a room stops heating. Here’s a schedule that fits how a Frankford home actually lives.
- Every fall, before heating season. Zone 1 through Zone 3. Run the system, back of the hand on every trunk seam, and look at the return plenum attachment. Ten minutes.
- Every spring, before cooling season. Zone 4 and Zone 5. Check the attic run sleeves and every register boot. Listen for whistling at a register, which means a boot has pulled away. Ten minutes.
- Every two to three years. Full five-zone sweep with photos and a written summary. This is the interval when joints you sealed two seasons ago can be checked against the original images.
- After any renovation. Any work that opened a wall, a ceiling, or the basement finish has likely disturbed a duct. A full sweep after construction is not optional.
- After a new appliance or a furnace replacement. The plenum connection on a new unit is a new joint to check.
One more scheduling note: the day a homeowner notices a room is too cold is usually a month too late. The check is cheap and the repair window is short. If you want a single hard rule, run the fall sweep before the first cold night and the spring sweep before the first hot one.
When to stop checking and call a professional
Some duct problems are do-it-yourself work. Others need a technician. Here’s where the line falls in a Frankford home.
Call a professional if the leak is in a wall chase or a finished attic you cannot reach. Call if you find a disconnected return plenum, because re-seating one properly requires supporting the trunk and mating the boot to the cabinet. Call if you find original ductwork with a collapsed inner liner, because the run has to be replaced, not re-sealed. Call after any renovation that moved ductwork, and call before you spend money on a second duct cleaning when the problem might be a leak on the return side.
The equipment matters here. A contractor with Rotobrush rotary brush systems, Nikro HVAC cleaning units, and Abatement Technologies negative-air equipment is doing a different job than a handyman with a shop vac. The containment and extraction is what keeps a repair from turning into a dust event. Air Duct Cleaning Frankford offers free estimates in Frankford – call (866) 690-7933. We answer 24/7. Fast dispatch from 7am to 7pm, Sunday through Friday.
Common Mistakes to Avoid
- Using cloth “duct tape” on a duct joint. It looks like the right tool and it isn’t. Cloth tape peels away within a season or two and leaves the joint wide open. Use foil-backed adhesive tape or mastic.
- Sealing a dirty joint. Mastic will not hold on dust, and tape will not hold on grit. Wipe the joint clean before you seal it, or the seal fails within the year.
- Ignoring the return side. Many homeowners check the supply runs and forget the return pan under the joists. In a Frankford row home the return is often the biggest leak in the system.
- Sealing over a collapsed liner. If the inner liner of a flex run has separated, tape over the outside does nothing. The run has to be replaced, not patched.
- Comparing a sealed joint to a fresh one. If you don’t date your photos, you can’t tell whether the seal is holding or whether it was applied three years ago. Date the file.
- Doing a full sweep only after a room goes cold. The check is a ten-minute job in the fall. Doing it only when a problem shows up means the problem has been leaking for a season or more.
- Forgetting the attic in summer. Attic sleeves that look fine in January can be torn from heat cycling by July. Check the attic in spring, not just when you happen to be up there.
See the difference
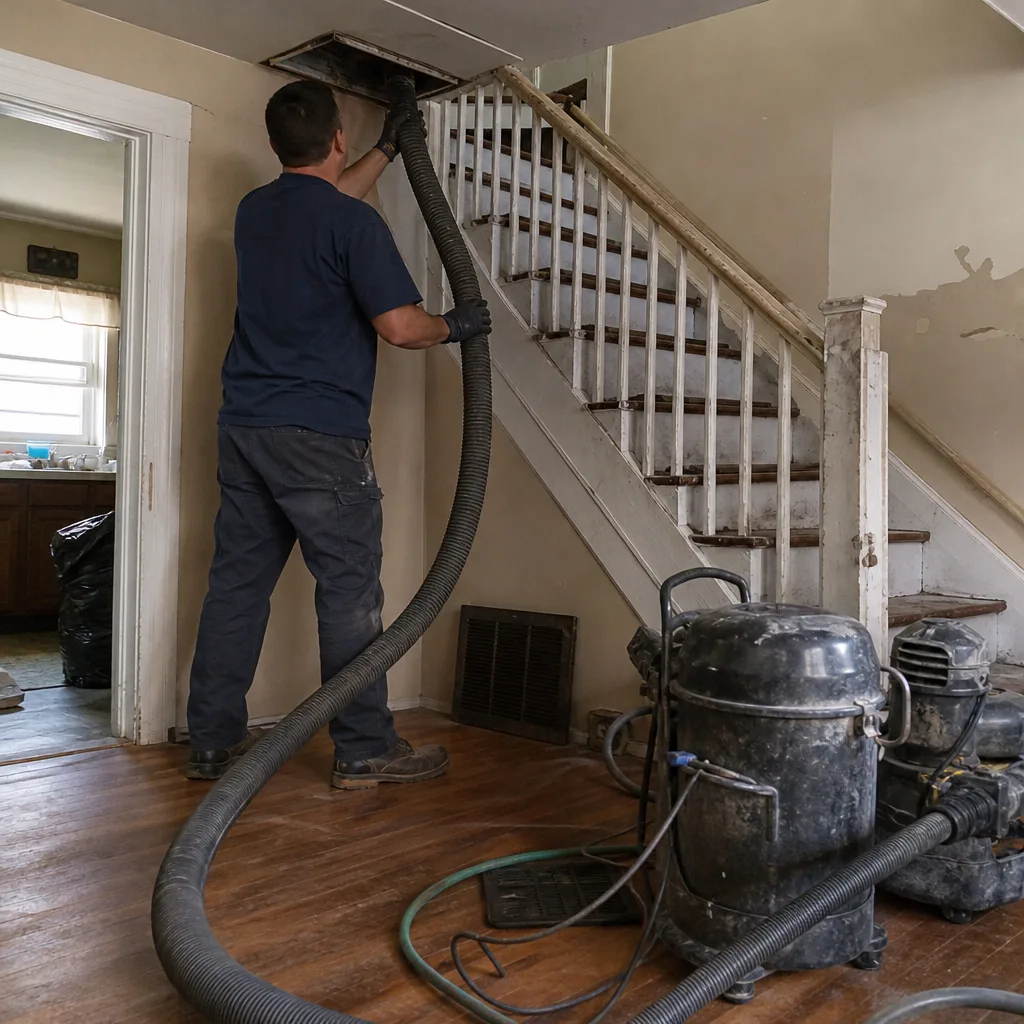 Before
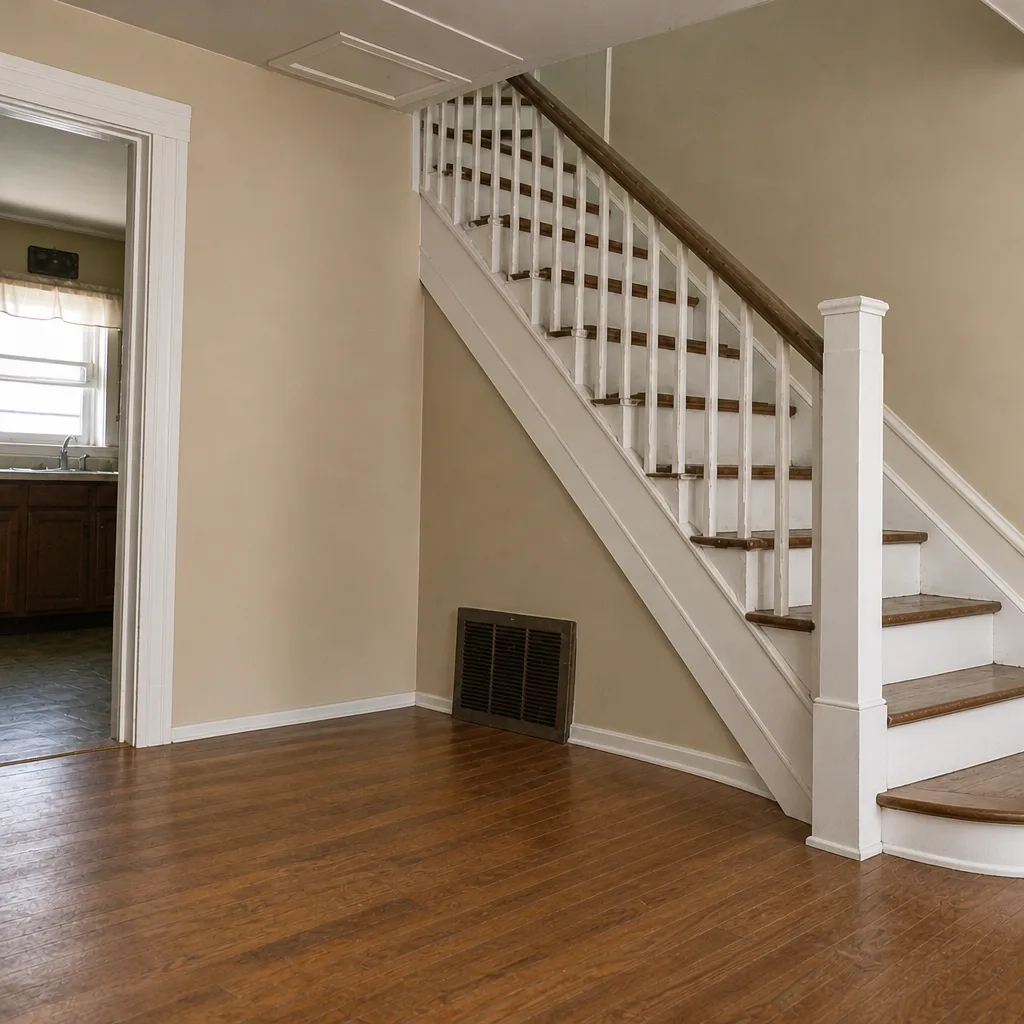 After
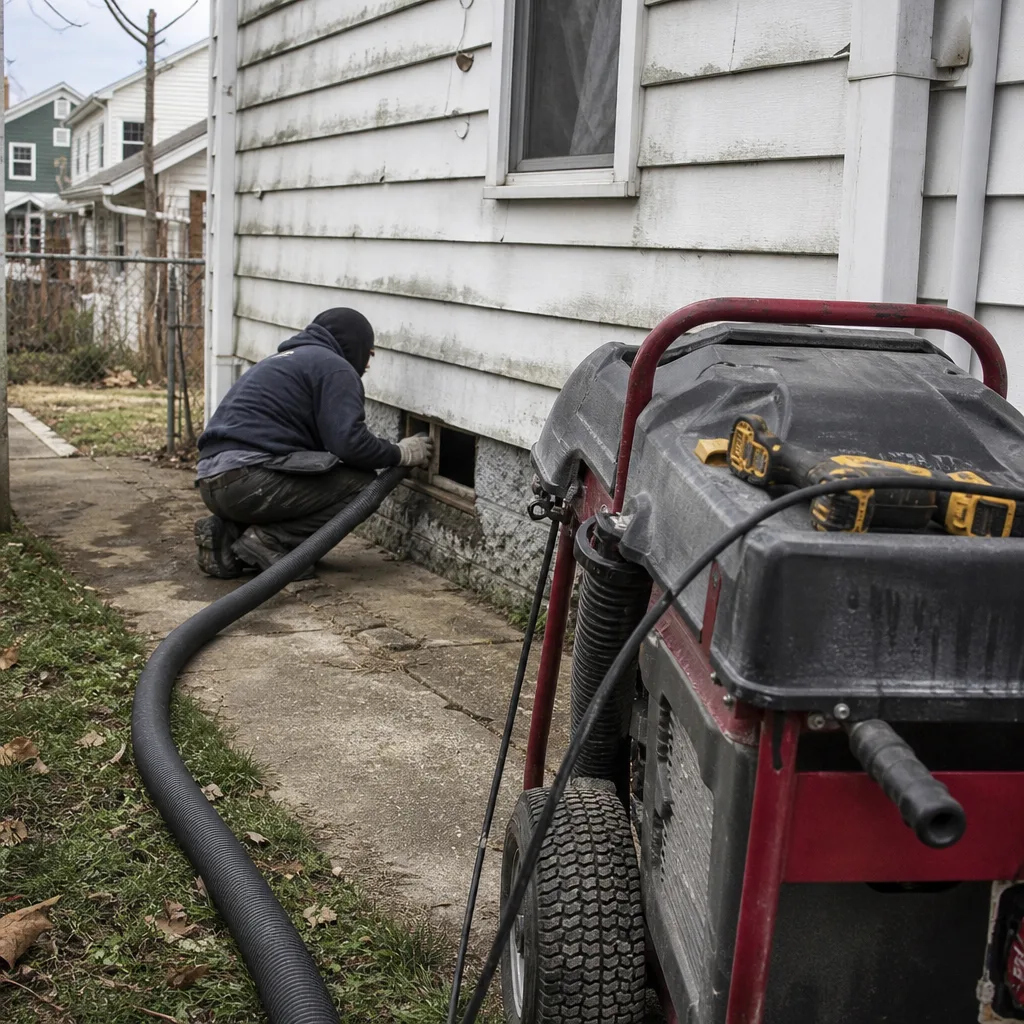 Before
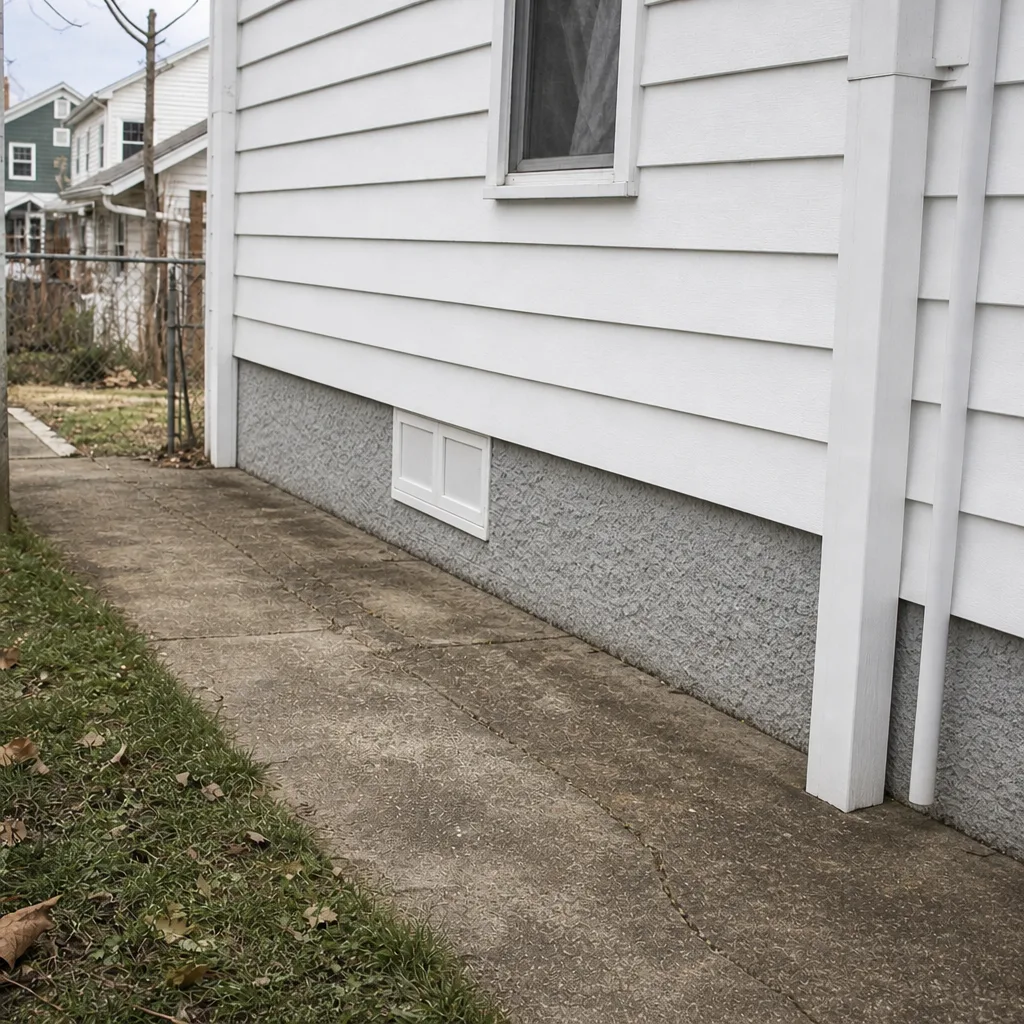 After
 Before
 After
When to Call a Professional
Call a professional when the leak is behind a wall, a finished ceiling, or a chase you cannot reach. Call when you find a disconnected return plenum, a collapsed inner liner, or original ductwork with failed seams along its full length. Call after a renovation that disturbed ductwork, and call if a room stays cold or hot even after you’ve sealed every reachable joint in that zone. The equipment a professional brings, from Rotobrush rotary brush systems to Abatement Technologies negative-air containment, is what keeps a repair from spreading dust through the house. If you’re using Guardsman-grade sanitizing after a repair, that’s the moment to have it done. Air Duct Cleaning Frankford offers free estimates in Frankford – call (866) 690-7933. We answer 24/7. Fast dispatch from 7am to 7pm, Sunday through Friday.
Frequently Asked Questions
Run a full five-zone sweep every two to three years, with a lighter check of the basement and trunk before heating season and the attic and boots before cooling season. Frankford’s older homes see enough seasonal swing that a two-to-three-year interval catches most joint failures before they become a repair.
Yes, you can seal every joint you can reach with mastic or foil tape. That covers basement trunks, plenums, joist pan edges, and register boots. Do not attempt to seal a leak inside a wall chase or a finished ceiling, because reaching it requires removing the finish or using injection sealing, both of which are professional work.
Repair means replacing or reconnecting ductwork that has failed, such as a collapsed flex run or a disconnected return plenum. Sealing means closing the joints and seams on ductwork that is still structurally sound. A full job usually includes both: repair the failed runs, then seal every joint on the system so the repaired section performs. We cover both under one service so you don’t need a separate contractor for each.
The second floor stays cold for one of three reasons: a leaky trunk in the basement robs pressure from the system before the air reaches the top floor, a register boot has pulled away from the floor, or a flex run in the attic has lost its insulation jacket. All three are visible on a five-zone sweep. Sealing the leaks usually fixes the room without touching the furnace.
A disconnected return plenum pulls basement air into the system, and the symptom is dust in the house that returns after cleaning plus a return grille that feels weak. Check the top of the air handler where the return boot attaches. If the boot has popped off or the pan edge has separated, it’s disconnected. This is a repair, not a seal, so call a technician.
Most duct repair and sealing work in a Frankford home does not require a permit, but replacing a major run or moving a return can, depending on the scope. Confirm with the city’s building department before any work that opens a wall or changes the layout of a run. Sealing joints, patching a boot, and re-taping a plenum do not require one.
The Bottom Line
Duct sealing works as maintenance, not as a rescue. The Frankford homeowners who get the most out of their system are the ones who run the five-zone sweep on a schedule, seal every reachable joint with mastic or foil tape, keep dated photos of each zone, and hand the record to the next technician so the visit starts from where the last one ended. The tools matter, which is why we bring Rotobrush rotary brush systems, Nikro HVAC cleaning units, and Abatement Technologies negative-air equipment to every job. If your sweep turns up a leak you can’t reach or a return that’s come loose, or if you want a full cleaning and sealing done together, call (866) 690-7933. We answer 24/7. Fast dispatch from 7am to 7pm, Sunday through Friday. Free estimates in Frankford. For the full range of work we do across the home’s air system, start with Air Duct Cleaning Frankford.
Written by the team at Air Duct Cleaning Frankford.